


Image Transformation - Convert Image Files to Vector Graphics for Design
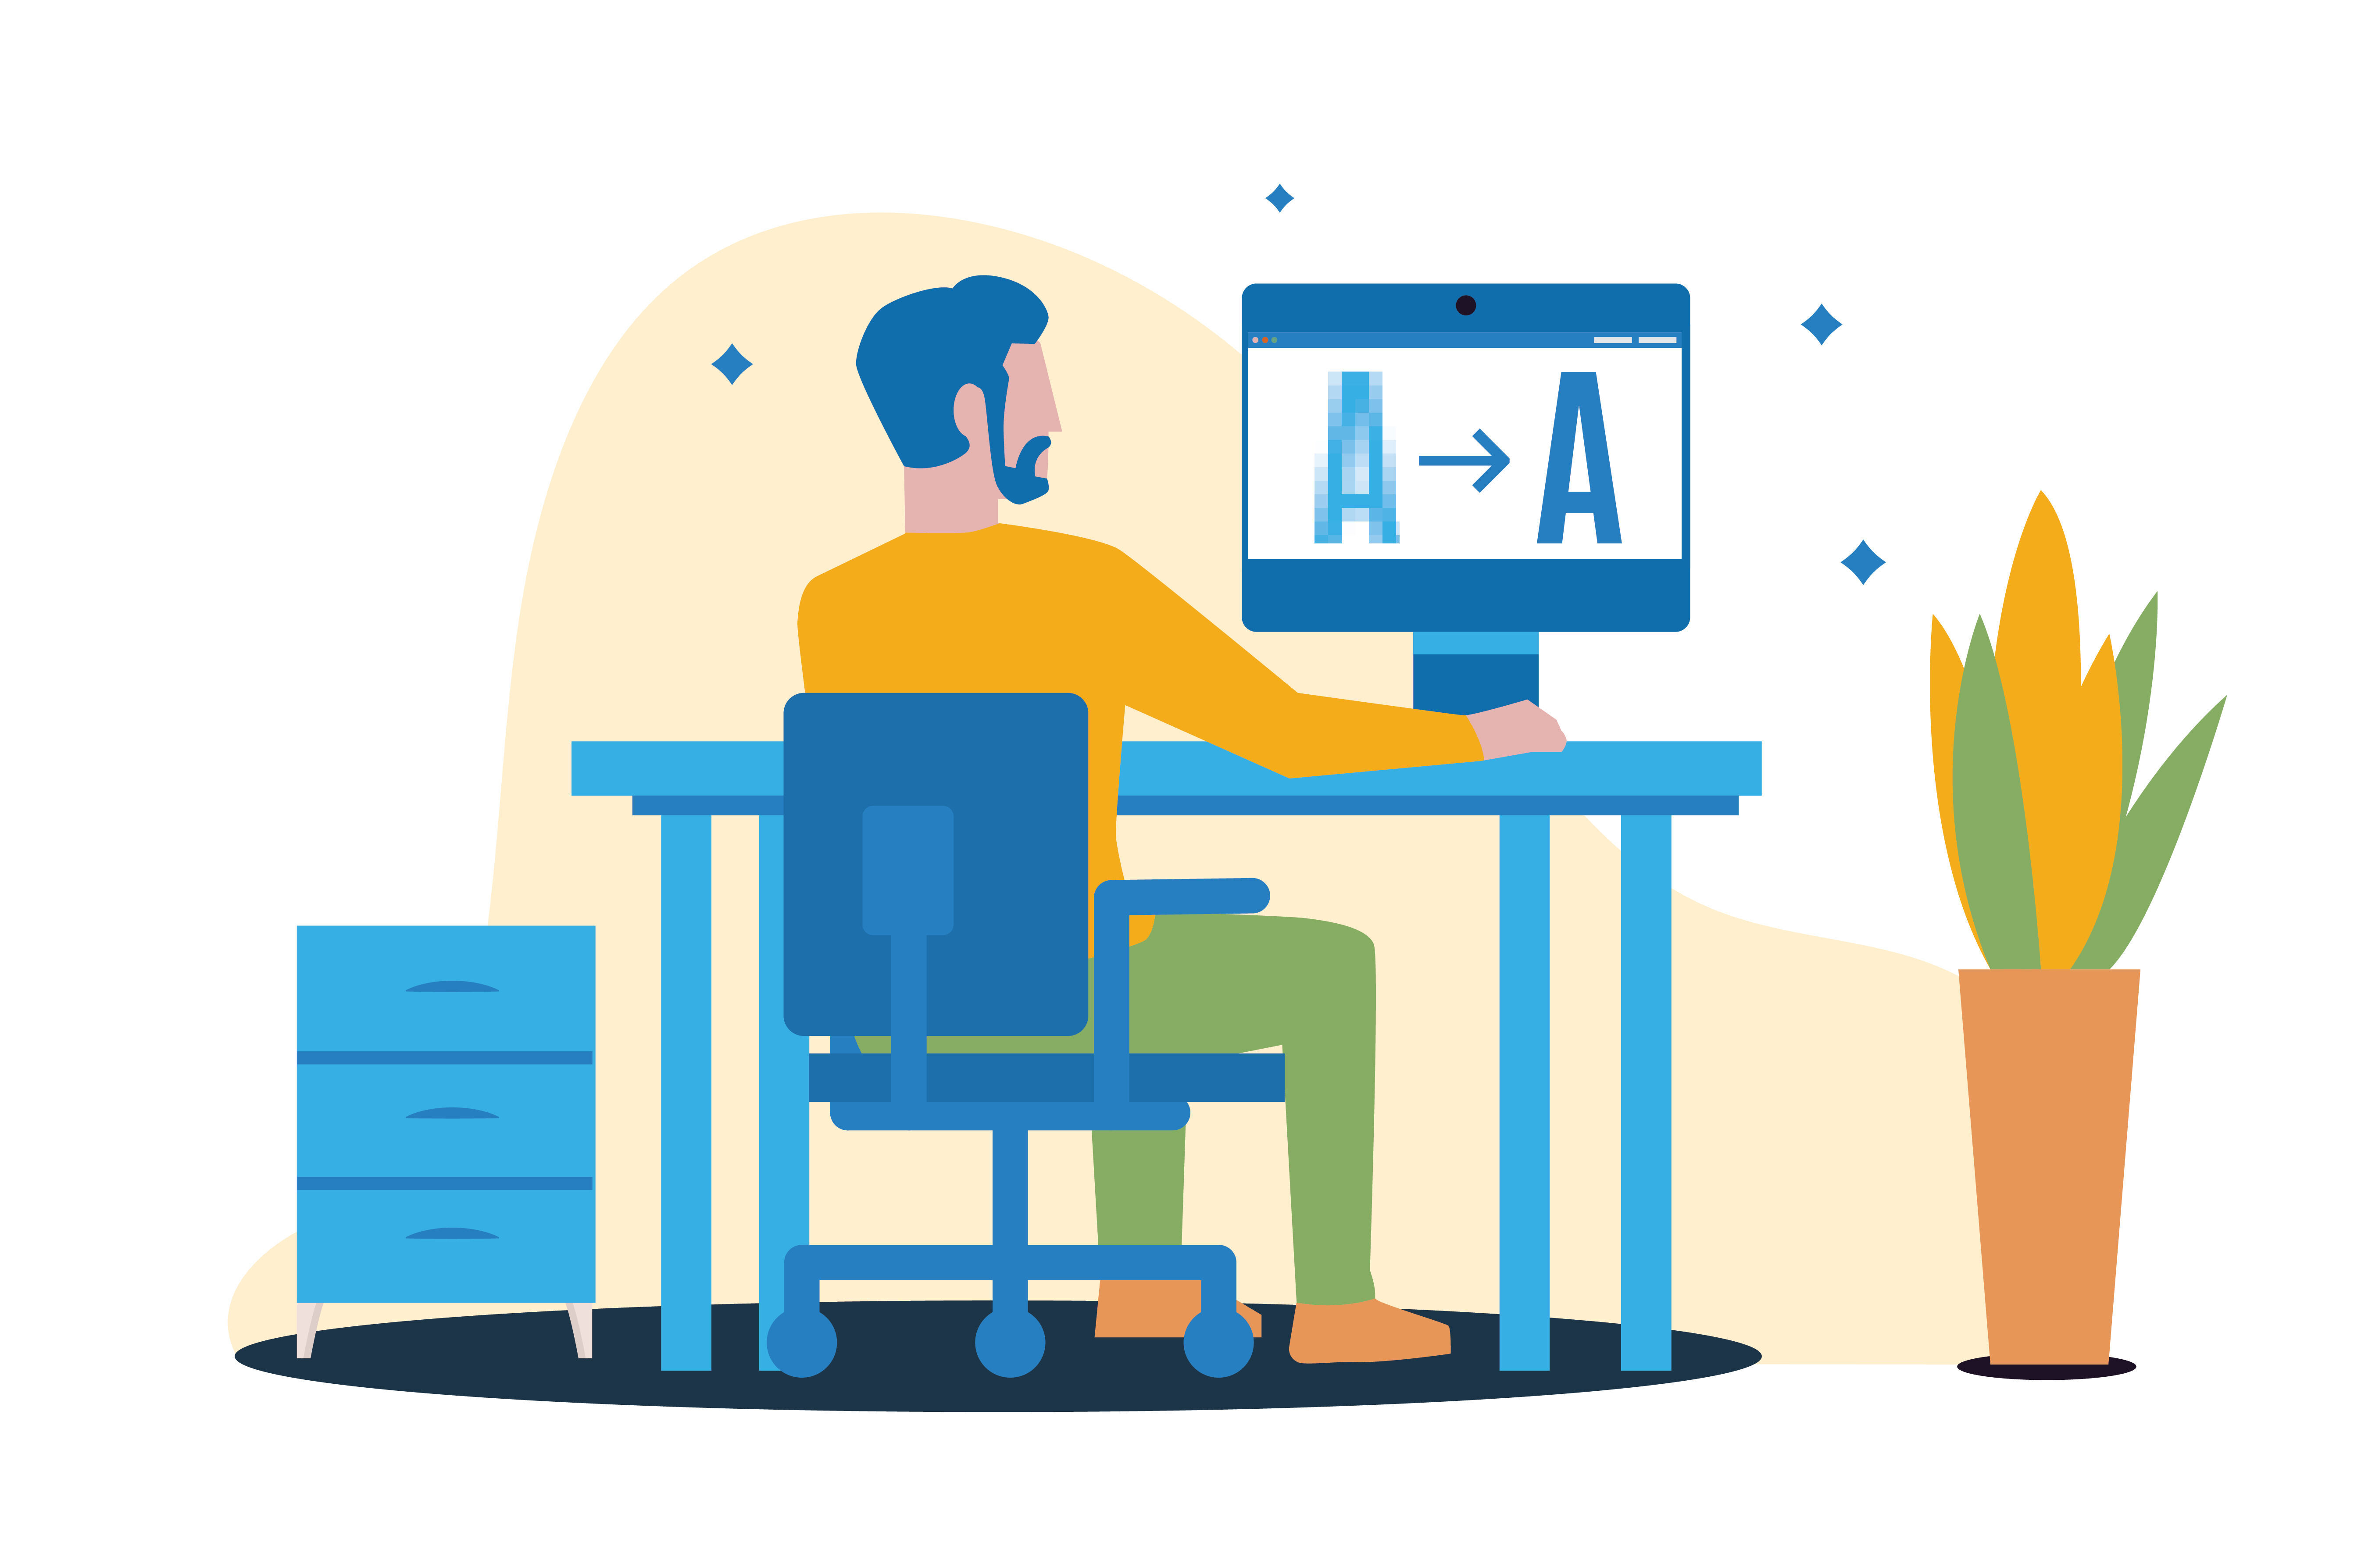
A common issue in designing marketing materials is finding the right image quality for the artwork. In some cases, the images would lose their quality when scaled up, while other designs would only render in specific image sizes. When this happens, many graphic artists would convert the image to vector graphics and continue with the editing process. In this article, we will dive deep into vector files and how this image conversion helps with the final design and printing.
What is Vector Graphics?
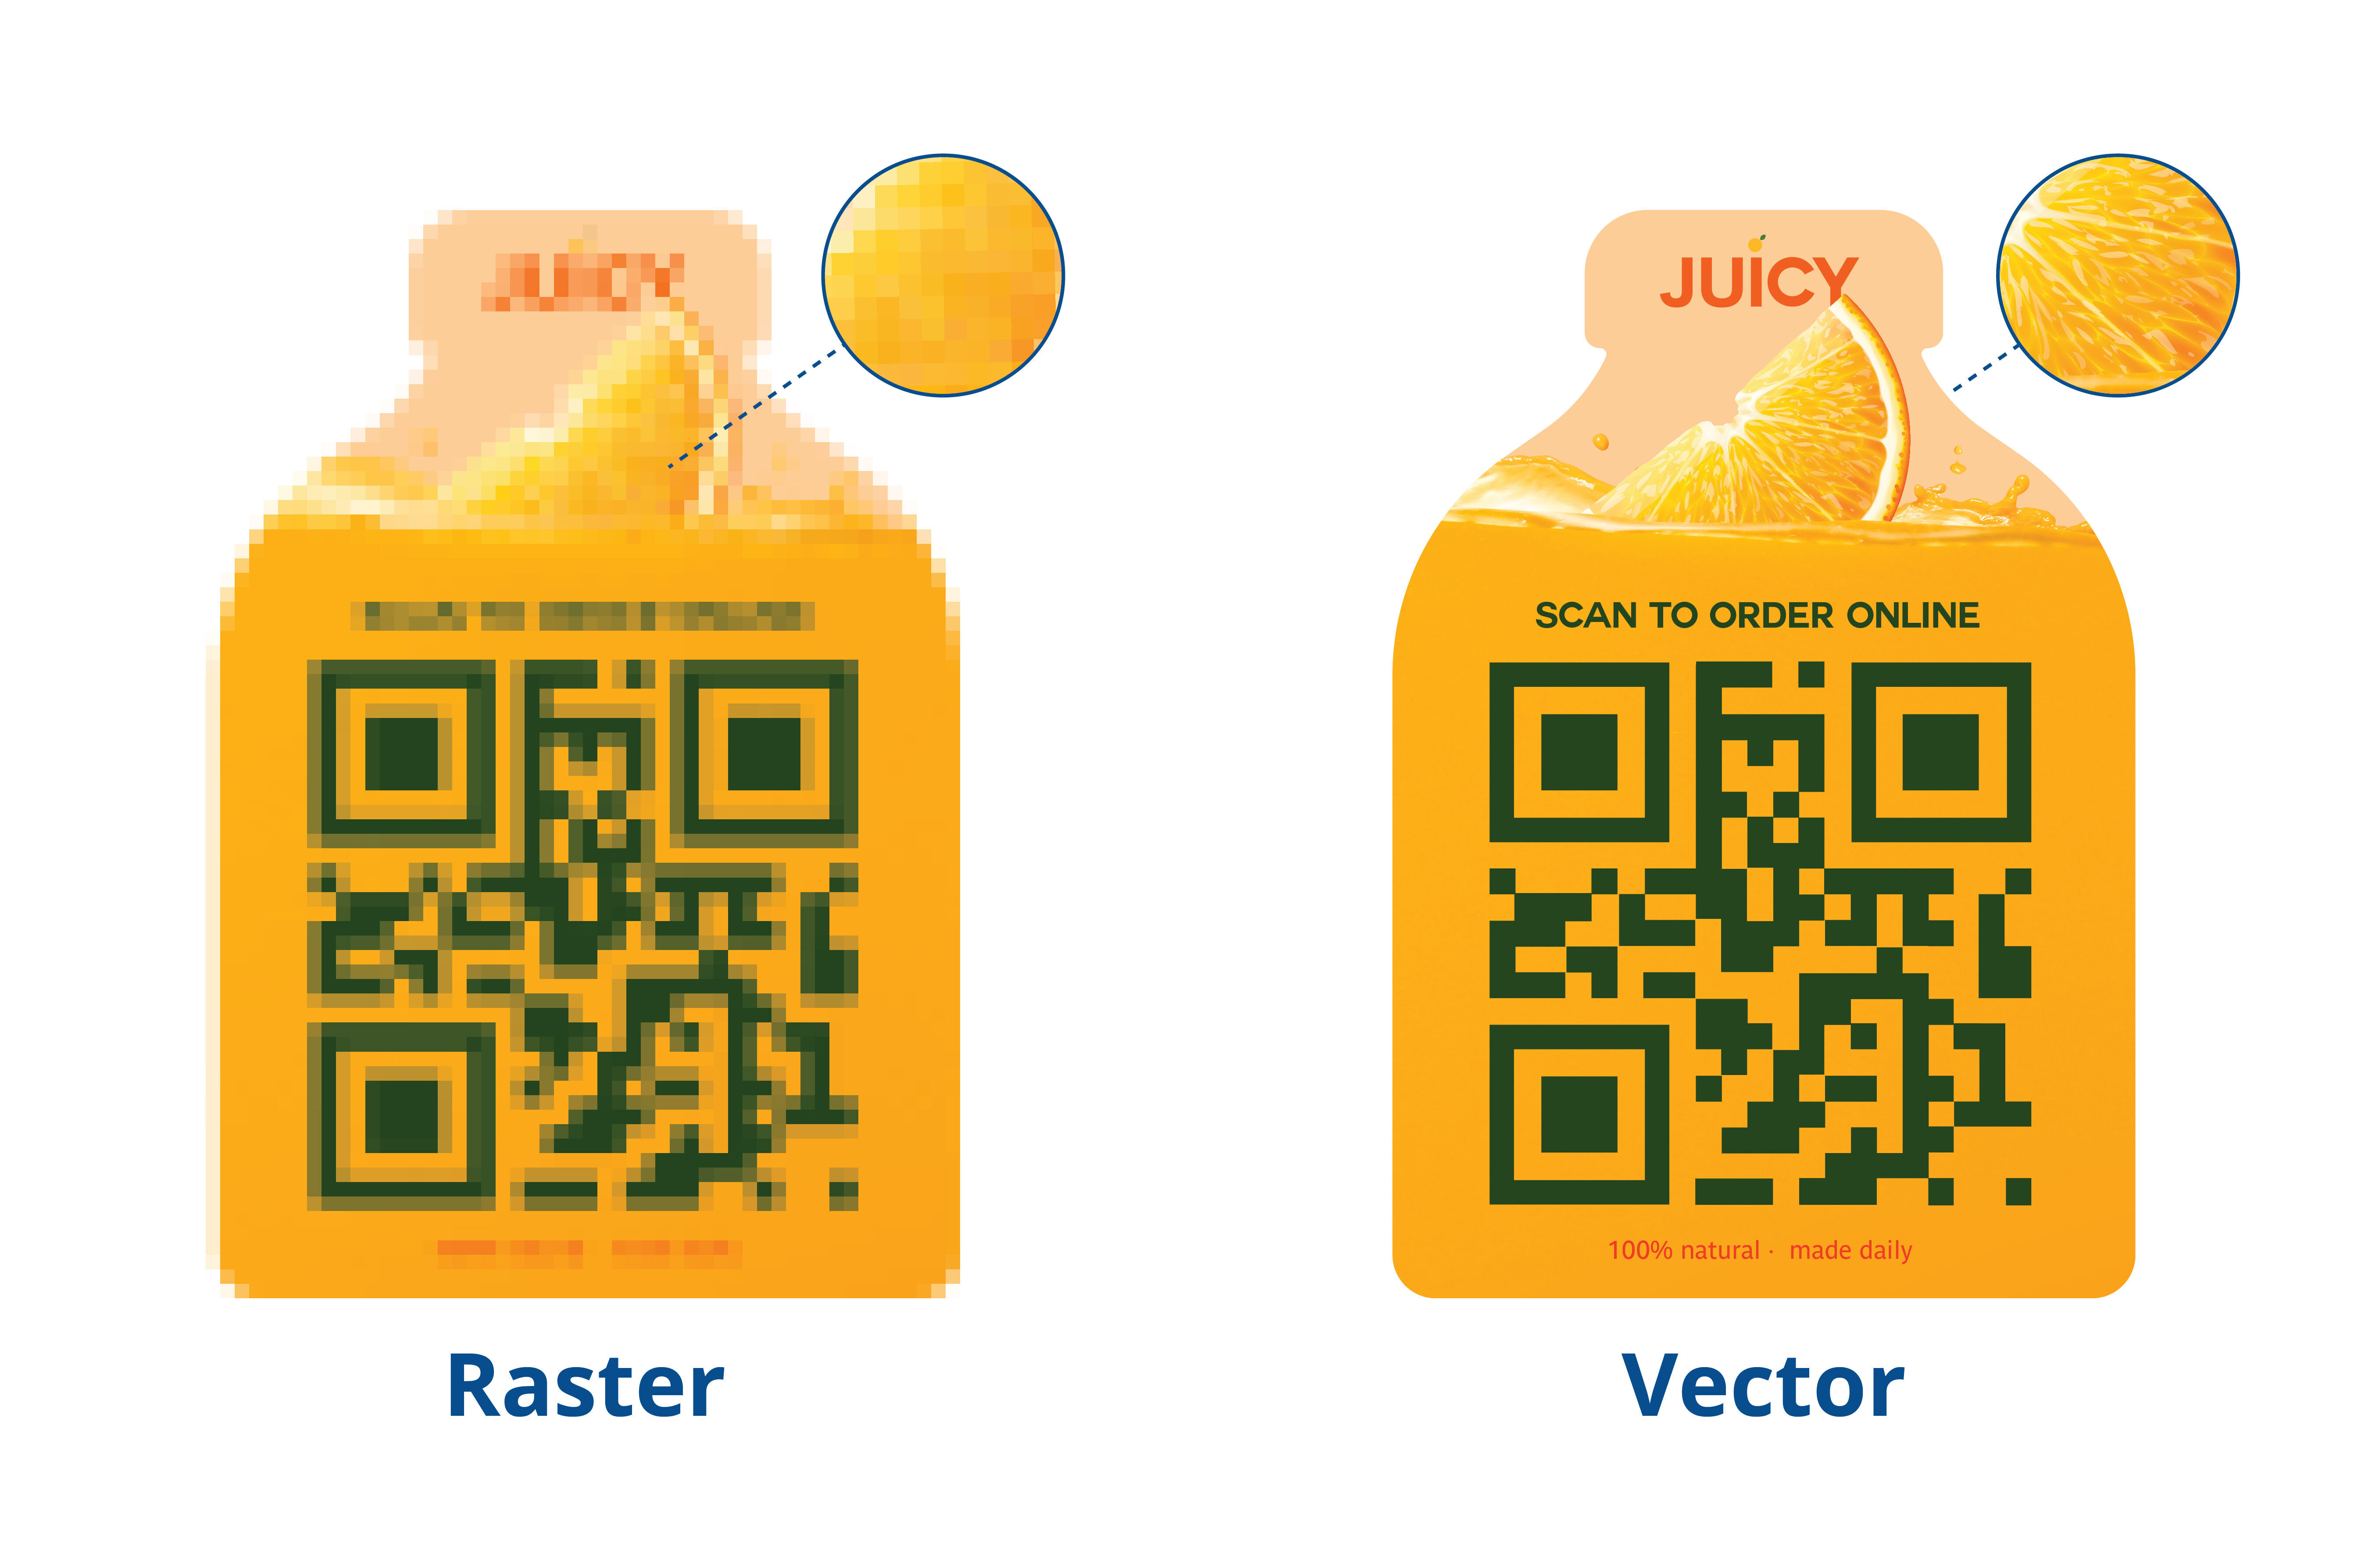
Most people know about image files like PNG, JPG, and Bitmap, and how the files use pixel count, color, and resolution to form an image. These files are called raster images, and the number and color of pixels in a grid-like resolution usually define their quality i.e., the higher the number, the better the image quality is.
Vector graphics or SVG (Scalable Vector Graphics) files are different since these use lines and shapes on a cartesian plane and are defined by how each shape is formed and spaced from one another. The most common vector images are the fonts, letters, and shapes used in Microsoft Office applications such as Microsoft Word and Microsoft PowerPoint.
Graphic designers, architects, and computer artists often convert their raster files to vectors because of scalability, visual quality, and file size. Image vectors can be enlarged without any loss in quality or the image pixelating. This allows artists to edit and improve a design on a “microscopic” level. This also means the print output is much more refined and detailed. Even the small designs for custom stickers and labels can be improved when the raster is converted to vectors, and scaling doesn’t reduce the design’s quality. Vector graphics also take up less storage space and are less memory-intensive than PNGs or JPGs.
Now, before you think about converting all your digital images into vectors, you should also know the limitations of vector graphics in PCs and digital devices. For one, SVG files are not entirely image files and would require rasterizing back to PNG or JPG before printing or uploading the image. Vectors are also a poor choice for highly detailed images like photographs. Even converting photorealistic images to vectors may also result in some loss of detail. While converting photos to vectors is still possible, many reserve vector graphics and conversion to simple images, which is still perfect for designing brand logos and simple designs.
The Conversion Methods: From Image to Vectors
So now that you have a basic idea about raster images vs. vector graphics, it's time for the big question: How can we convert the image to vector? Well, there are multiple options you can choose from:
Use image software. Some image software can cleanly convert images to vectors. Some programs like Adobe Illustrator and Photoshop can convert simple images to vectors for graphics editing.
Check the web for online tools. There are online tools and websites that you can use to translate simple image files to vector graphics; some of them even incorporate AI conversion. You can experiment with free online tools though these may come with limited features, while those that require paid subscriptions may offer more functionalities.
Hire a graphic artist or digital service for conversion. Professional graphic artists, computer programmers, and coders usually have the right tools and knowledge to convert any image into a vector file. Some can even convert photorealistic images to vectors, while others offer back-to-back conversion, offering to convert PDF to SVG and then rasterize them back into an image after designing and editing the artwork.
Conversion Deep Dive: A Step-by-Step Guide on Basic Vector Conversion
Convert Using Adobe Illustrator
- Open the image file you want to convert using Adobe Illustrator.
- Click the “Window” option on the upper-left corner of the program and select “Image Trace.”
- When the “Image Trace” tab opens, select “High Fidelity Photo” and adjust the colors appropriately.
- Click “Expand” on the right-hand tab of Illustrator, and you’ll see the image highlighted. You’ll also see the vector points appear on your image.
- Right-click the image and choose “Ungroup.” You can now freely adjust the image size and scale it up without any problem.
Convert Using Adobe Photoshop
- Open the image you want to convert in Photoshop.
- Once the layers appear, click on the layers tab to highlight and trace your image.
- Click on the rectangle selection tool on the left-hand corner of the program and then right-click your image to select “Make Work Path.” Your logo will be highlighted, and your image will create vector points.
- Just hit enter to remove the points; now, your image is a vector. You can scale it up and expand its size without quality loss.
- Save your image as an EPS file; you can use other software to edit and change up the image as a vector graphics file.
Some Final Thoughts
Converting an image to a vector file is a great boon for making a scalable and aesthetically pleasing banner design. With this, simple images and recognizable brand logos can be modified and resized to fit your artwork, which will be printed on marketing souvenirs, business cards, and banners. But here’s the fun part: At Signs.com, our design services team also offer image to vector conversion! If your artwork needs a touch-up and scaling to fit the banner printing, you can bring up the vector graphics in your design consultation and the team will do their best to help you with the process.