


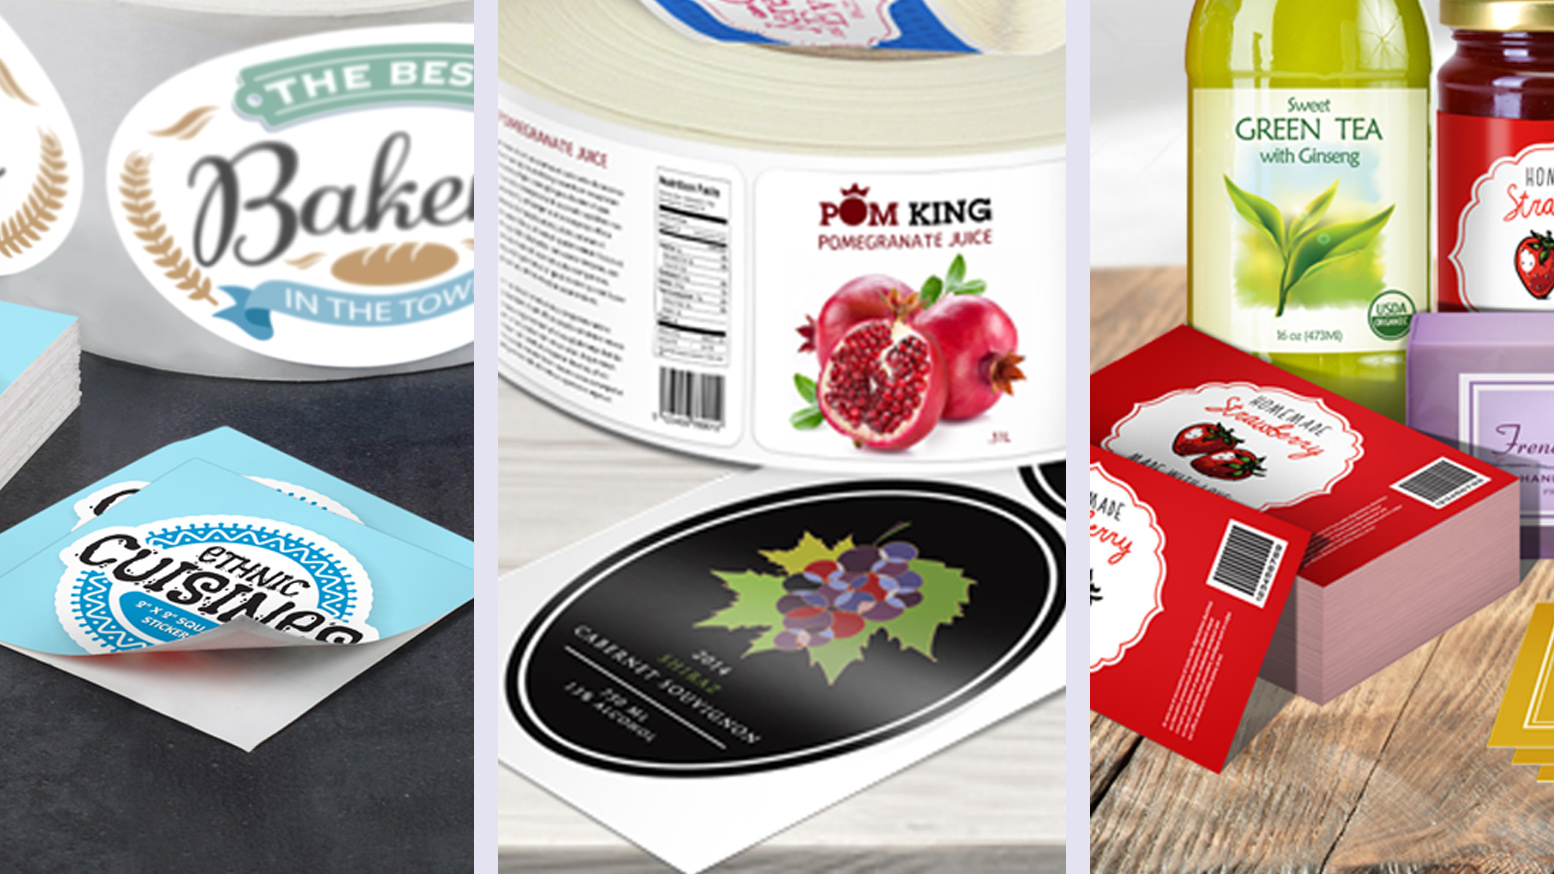
Preserving Stickers: How to Remove and Reuse Stickers
Now, the process of reviving and reusing your old stickers involves three specific steps: removing the sticker, reapplying the adhesive, and placing the sticker on a new surface. You can achieve these three goals using careful and precise methods which we detail in this article.
How to Remove Stickers Without Damaging Them?
- Method 1: Heat Method - The heat method is a tried-and-tested technique effective on glass, metal, and plastic surfaces. This gradual process ensures that the sticker lifts off smoothly and minimizes damage to both the sticker and the surface it was attached to.
- Begin by heating the sticker with a hair dryer for about 30 seconds to 2 minutes.
- Once the adhesive is softened, peel the sticker slowly from one edge. You can use a credit card or a flat tool to help you remove the sticker cleanly.
- Apply more heat and continue peeling carefully until the sticker is completely removed.
- Method 2: String Method The string method involves using a thin piece of thread, string, or dental floss to remove the sticker without bending or tearing it. In some cases, it can also help preserve some adhesive for potential reuse.
- Begin by sliding the string under the edge of the sticker and gently rock it back and forth, slowly "sawing" the sticker off the surface.
- You can also warm the sticker using a hair dryer to soften the adhesive to make the removal process easier.
- Lift the sticker once the thread has passed through its underside, and you're done!
- Method 3: Freezing Method - The freezing method is helpful if you want to remove stickers from items like glass jars, metal containers, or plastic bottles. This method can also effectively preserve waterproof and cold-resistant stickers for future use.
- Place the item with the sticker inside a freezer for a few hours. Putting the product inside a plastic bag is also advisable to protect the sticker from getting wet.
- The cold temperature hardens the adhesive, making it easier to lift off the sticker without damaging it.
- After freezing, carefully remove the item and use a thin blade or a plastic scraper to lift the sticker off its surface.
How to Reapply Adhesive on Reused Stickers?
- Method 1: Adhesive Spray or Glue - A straightforward method of reusing stickers involves using a glue stick or repositionable adhesive spray. To avoid any mess, work on a clear table covered with a cloth.
- Begin by cleaning the back of the sticker to remove any old adhesive residue, ensuring a smooth and even application of the new adhesive.
- Apply a thin layer of adhesive using either a glue stick or an adhesive spray. Avoid touching the adhesive once applied, as this can reduce its effectiveness.
- After applying the adhesive, place the sticker on wax paper to preserve its stickiness until you're ready to use it.
- Method 2: Using a Paper Sticker - The paper sticker method is another way to create a durable, reusable sticker that can withstand multiple applications. You can also add a layer of protection to the reused sticker so that it looks new again.
- Start by applying a small amount of glue to the back of the sticker and press it onto the adhesive side of the sticker paper. Allow the glue to dry for a few minutes.
- Apply a thin layer of clear adhesive film to the sticker to protect it and give it a professional finish.
- If the sticker still has some adhesive residue, you can place it onto the sticker paper without additional glue, then reinforce it with the adhesive film.
- Keep the sticker pressed between two flat surfaces for several hours, such as under a stack of books, to ensure the adhesive bonds well.
- Finally, cut the new sticker into shape according to its original design.
How to Reapply Recycled Stickers on New Surfaces
While it's possible to restore a sticker's adhesive properties, it's important to note that reused stickers may not perform as well as brand-new ones. However, using the right approach, you can successfully reapply your recycled sticker to a new surface. This method will guide you in ensuring your sticker sticks appropriately and look great.
- Check the New Surface
- Start by carefully examining the new surface where you intend to apply the sticker. Consider whether the recycled sticker will still adhere well to this material.
- To ensure strong adhesion, clean the surface thoroughly. Remove any dust, dirt, or oils that could interfere with the sticker's ability to stick.
- Attach the Sticker
- Once the surface is ready, position the sticker carefully on the new surface. Once you're satisfied with the placement, peel off the backing to expose the adhesive.
- Press the sticker onto the surface, starting from the center. Use a squeegee or a credit card to smooth out any air bubbles. Work toward the edges to avoid wrinkles and ensure the sticker sticks evenly.
- Final Touches
- Try applying a clear sealant or laminate over the sticker for added durability. This extra layer will protect the sticker from wear and tear, helping it last longer on the new surface.
- After the application, clean the surrounding area to remove any adhesive residue or fingerprints, leaving your sticker neat and polished.
Looking Back at the Methods
Note: Reusing stickers helps reduce waste and lets you enjoy and repurpose your designs for your business. You can even use the methods to help reposition your stickers and expand the aesthetics of your storefront, office window, and promotional products. Whether for decoration, organization, or marketing, these practical methods let you make the most of every sticker you've designed and where you can showcase it.
Looking for more resources on product labels? Take a look at these articles!

How to Choose the Correct Label Size
This article guide helps you learn two foolproof ways to measure the correct label size for your product.
An Easy Guide to Understanding Food Labels
Make sure that your food labels come with all the necessary and required information such as serving information, nutrient claims, best before dates, and more.

How to Choose the Right Label
This guide will help you decide the right type of label material, size, and shape that works for your product or application.